Sisteminizde Node(>3) ve Xcode(>8) kurulu olmalı. Ve ios (>10) için Appium 1.6 (latest release version) için ayarlamalar yapacağız.
Önce aşağıdaki komutları sırayla vereceğiz:
sudo npm install -g appium@1.6
Node
brew install node
node -v
XCode
https://itunes.apple.com/us/app/xcode/id497799835?mt=12
And then please enter the following console commands:
brew install ideviceinstaller
brew install carthage
sudo npm install -g ios-deploy
sudo npm install appium-doctor
npm install -g deviceconsole
gem install xcpretty
brew install libimobiledevice --HEAD - IOS 10
brew install libimobiledevice - IOS 9
Sonra bu path'e gidelim:
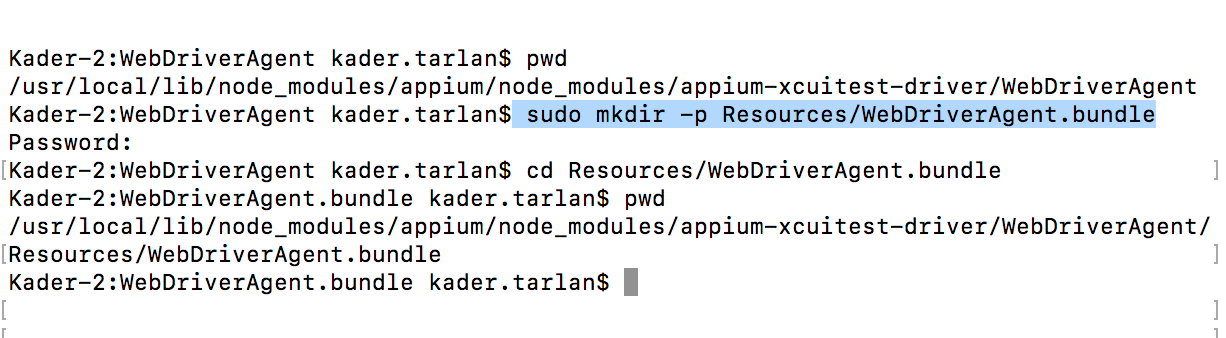
cd /usr/local/lib/node_modules/appium/node_modules/appium-xcuitest-driver/WebDriverAgent
Burada aşağıdaki komutu çalıştıralım:
sudo mkdir -p Resources/WebDriverAgent.bundle
Ve WebDriverAgent dizininde aşağıdaki komutu girelim:
sudo sh ./Scripts/bootstrap.sh -d
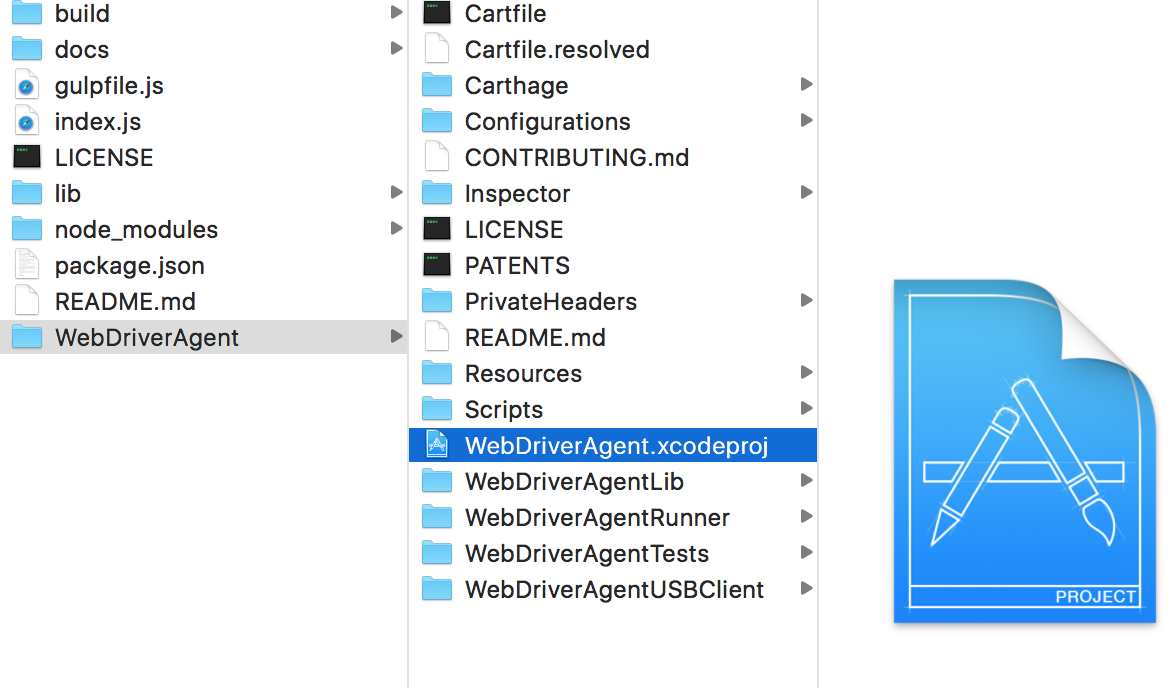
WebDriverAgent.xcodeproj dosyasının Xcode'da açalım':
Bu dizinin çalıştırma iznini değiştirelim: appium-xcuitest-driver
cd /usr/local/lib/node_modules/appium/node_modules/
chmod -R 777 . appium-xcuitest-driver/*
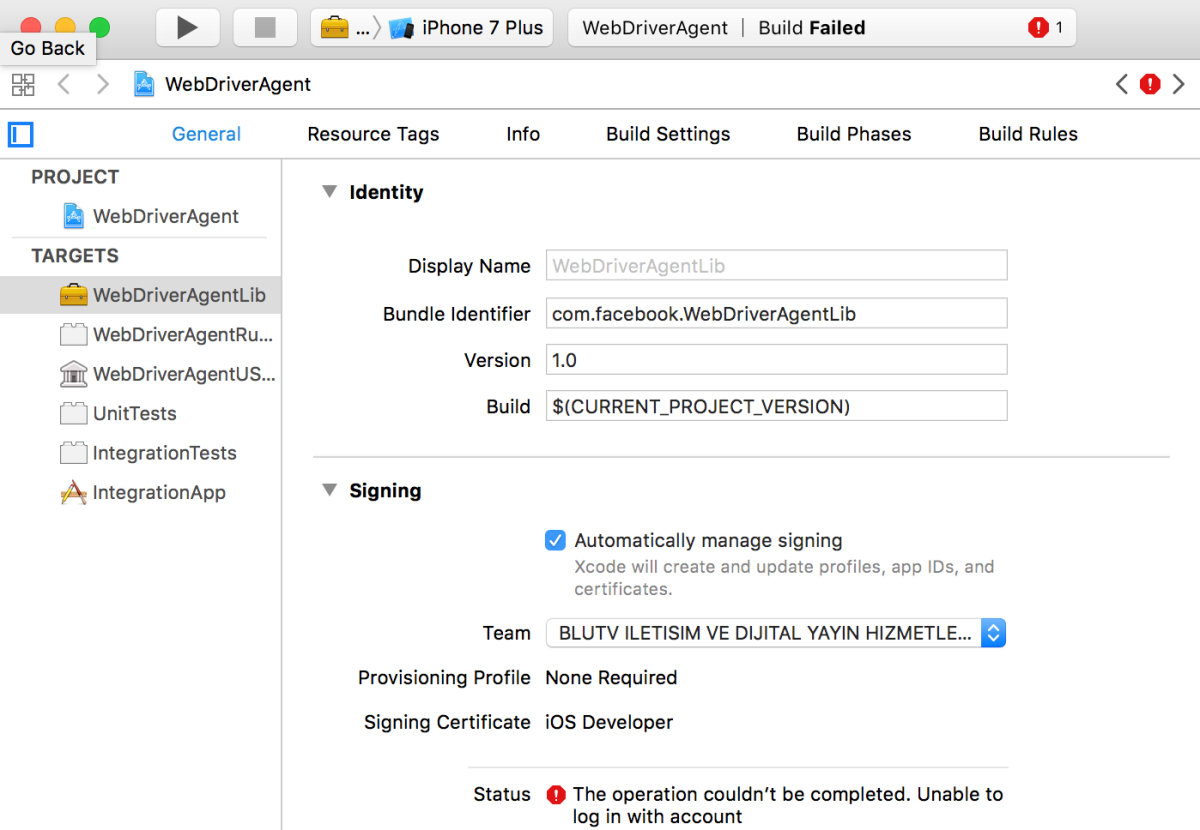
Sonra da Xcode'daki WebDriverAgent.xcodeproj projesine dönelim
WebDriverAgent Project için imza ayarlamalarını yapalım.
İmza ile ilegili ayarlamalrı yaptıktan sonra Eclipse‘deki test projesine dönelim.
Burada Capability‘leri düzenlemeye ihtiyacımız var BaseTest içinde aşağıdaki gibi değişitirebilirsiniz..
 Buna ek olarak var olan projenizin Path'ini de bulup BaseTest için eklemeniz gerekmektedir. Benim Eclipse projemde örneğin:
capabilities.setCapability(MobileCapabilityType.APP, “/Users/kader.tarlan/Library/Developer/Xcode/DerivedData/BluTv-frejawjplldgkechkgwcmwjiljka/Build/Products/Debug-iphoneos/BluTv_iPad.app”);
Şimdi Appium'u terminalden çalıştıralım.

Testleri çalıştırmak için herşey yolunda!